How to Use the DR300 Pocket Colorimeter for Measuring Chlorine Levels?

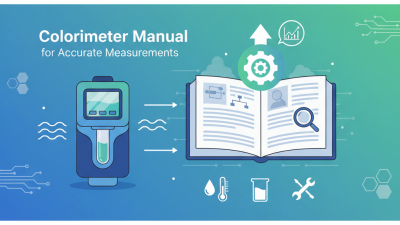
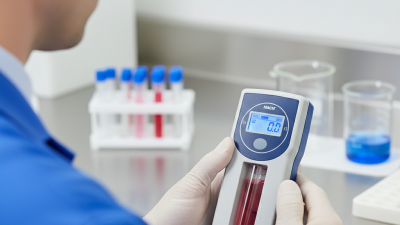
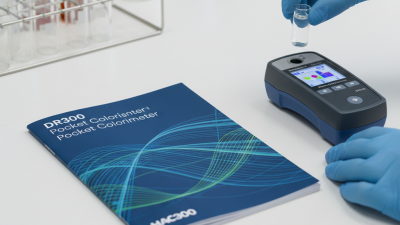
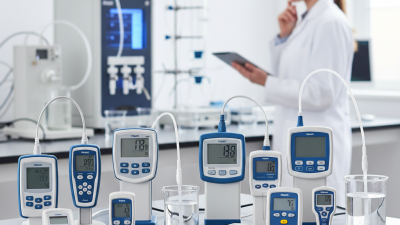
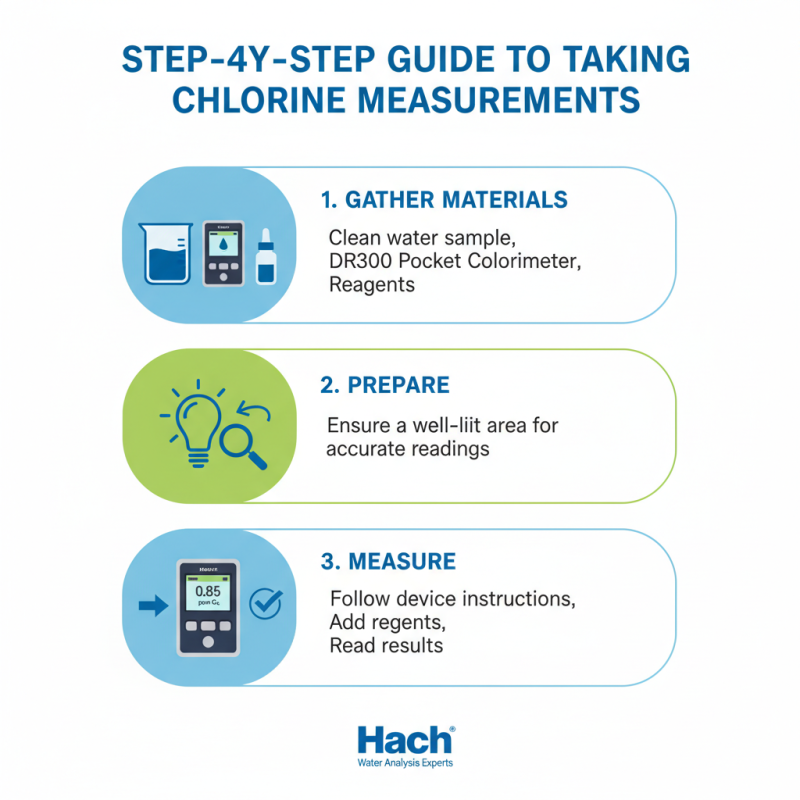
The DR300 pocket colorimeter is a valuable tool for measuring chlorine levels in water. With its compact design, it is easy to use and transport. Whether in the field or the lab, reliable readings matter.

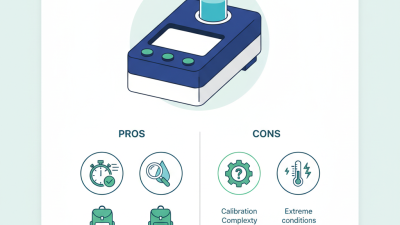
Using the DR300 pocket colorimeter for chlorine testing requires careful calibration and cleaning. Many users may overlook the importance of these steps. This oversight can lead to inconsistent results, which can be frustrating.

Understanding how to utilize the DR300 is critical. It provides a quick and efficient means of monitoring water quality. Being aware of potential errors, like human handling, is essential. Overall, the DR300 pocket colorimeter for measuring chlorine levels can greatly enhance our understanding of water safety if used correctly.

How to Use the DR300 Pocket Colorimeter for Measuring Chlorine Levels?

Understanding the DR300 Pocket Colorimeter and Its Features

How to Use the DR300 Pocket Colorimeter for Measuring Chlorine Levels?

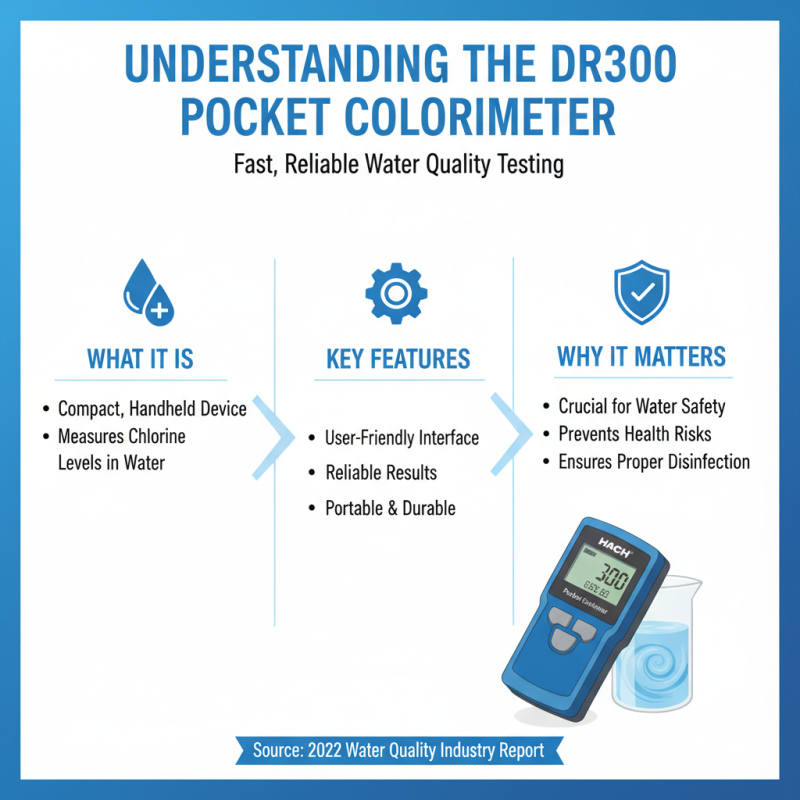
The DR300 Pocket Colorimeter is a versatile tool for measuring chlorine levels in water. This compact device has gained popularity due to its user-friendly interface and reliable results. Measuring chlorine accurately is crucial for maintaining water quality. According to a 2022 industry report, improper chlorine levels can lead to health risks and reduced water safety.

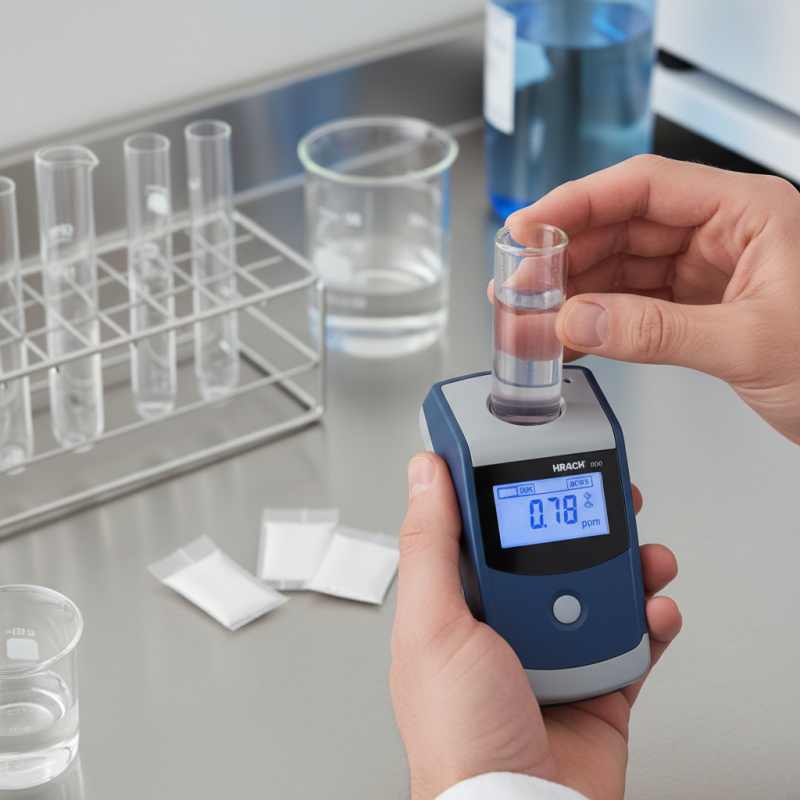
The device features a bright display, making it easy to read results even in low light. Its portability ensures that users can perform tests anywhere. The DR300 is designed for quick sampling, delivering results in under a minute. Studies show that rapid testing is essential, as delays may compromise water quality assessments. Regular calibration, however, can be a tedious task, requiring users to stay vigilant.

Another notable aspect is its wide range of measurement capabilities. The DR300 can measure total chlorine, free chlorine, and even chloramines. This versatility is important, as different water sources have varying needs. Yet, some users report challenges in interpreting results, particularly when readings are close to the detection limit. Continuous training and updates may improve user confidence.

Preparing the DR300 for Chlorine Testing

Preparing the DR300 for chlorine testing involves a few straightforward steps. Start by gathering all necessary equipment. This includes the colorimeter, sample bottles, and test reagents. Ensure you have a clean workspace to avoid contamination. Rinse the sample bottle thoroughly with distilled water before filling it with the sample. This is crucial. Any residue can affect the readings.

Next, calibrate the colorimeter. Insert the blank sample into the device. Follow the calibration instructions carefully. This step is often overlooked, yet it is vital for accurate measurements. After calibrating, prepare the reagents as instructed. It is easy to make mistakes here. Measure carefully to ensure proper reactions. Mix the reagents with the water sample, and allow it to react for the specified time.

Once the reaction time is complete, place the sample back into the colorimeter. Make sure it is inserted correctly. Read the results promptly to avoid any changes. Sometimes, results can seem misleading, so double-check your process. If the readings don't match expectations, revisit each step. Accuracy in setup can significantly impact your results.

Step-by-Step Guide to Taking Chlorine Measurements

How to Use the DR300 Pocket Colorimeter for Measuring Chlorine Levels?

Measuring chlorine levels with the DR300 Pocket Colorimeter is straightforward. Start by gathering your materials. You need a clean sample of water, the colorimeter, and the reagents provided for testing. Ensure that you are working in a well-lit area for accurate readings.

Begin with sample preparation. Fill the sample vial to the indicated line with your water. Add the appropriate reagent as specified in the user guide. Cap the vial, then shake it gently for a few seconds. This allows the chemical reaction to occur. After preparing your sample, wait for the specified time to ensure the reaction develops fully.

Tips: Always check the colorimeter for battery life. A low battery can lead to inaccurate readings. Calibration is crucial too; perform it regularly. Make notes of your findings; mistakes in measurements can happen. Observing trends is important, even if some readings seem off. Emphasize consistency and accuracy for effective monitoring.

Interpreting Chlorine Results from the DR300 Colorimeter

Interpreting chlorine results from a colorimeter can be challenging. When you take a measurement, be prepared for some variability. Water quality varies from one sample to another. Factors like temperature and pH can influence readings. Understanding how these factors affect your results is critical.

Pay attention to the colorimetric scale provided with the device. This scale helps you interpret the intensity of the color against the concentration of chlorine. A darker color usually indicates higher chlorine levels. Comparing against the scale allows for better understanding. It’s important to conduct multiple readings for accuracy. Small inconsistencies can lead to big mistakes.

When assessing your results, reflect on what you see. If the reading seems unusually high or low, double-check your sample. Was it collected correctly? Were all guidelines followed? Mistakes happen. Sometimes, you may find readings that don't make sense. In those situations, take a moment to review your process. This is key for reliable measurements.

How to Use the DR300 Pocket Colorimeter for Measuring Chlorine Levels? - Interpreting Chlorine Results from the DR300 Colorimeter

Sample ID Location Chlorine Level (mg/L) Status
Sample 1 Pool Area 3.5 Ideal
Sample 2 Drinking Water 1.0 Acceptable
Sample 3 Industrial Waste 5.0 Exceeds Limit
Sample 4 Lake Water 0.5 Safe
Sample 5 River Water 4.2 Exceeds Limit

Maintenance and Calibration of the DR300 Pocket Colorimeter

Calibration of the DR300 pocket colorimeter is crucial for accurate chlorine measurement. Start by ensuring the device is clean and free from any residues. Use distilled water and a lint-free cloth to wipe the optical chamber. Next, prepare calibration standards with known chlorine concentrations. Make sure these standards are fresh and well-mixed.

Once you've prepared your standards, switch on the colorimeter. Select the chlorine measurement mode. Then, insert the blank sample, which is usually a calibrator without chlorine. Take note of the reading. Next, follow this with the prepared standards, one at a time. Observe how the readings compare with expected values. Any discrepancies should prompt you to repeat the calibration steps.

Regular maintenance is also vital for longevity. Store the device in a protective case after use. Check batteries often to avoid unexpected shutdowns during measurements. Clean the optical surfaces routinely to maintain accurate readings. Remember, even small changes in calibration can lead to significant errors in results. Stay diligent in your maintenance routine, as overlooked details can compromise your measurements.