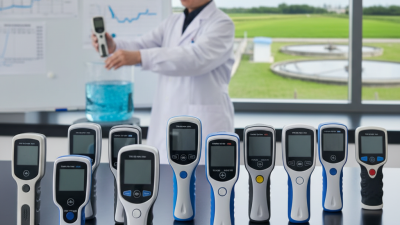
Portable water testing depends on more than pressing a button. The hach hqd portable meter can measure pH, conductivity, dissolved oxygen, or ORP, depending on the probe attached. Check the meter model and probe label before you begin. Small detail, big difference. Each sensor has specific calibration, rinsing, and storage requirements. This guide introduces a practical workflow: inspect the instrument, connect the correct probe, calibrate with suitable fresh standards, collect a representative sample, and allow the reading to stabilize. A hurried calibration can create convincing numbers that are still unreliable.
Before testing, review the meter and probe instructions for the parameter, sample conditions, and recommended calibration procedure. Rinse the probe as directed, then avoid touching its sensing surface or transferring droplets between standards. Keep the sample container clean, and record the location, time, temperature, units, and any unusual conditions. Write down the displayed value only after it settles. Not every sample behaves neatly. Bubbles, temperature changes, residue, or a worn sensor may affect results, so repeat a measurement when readings drift or seem implausible. Field notes are easy to neglect. They matter later. This overview helps readers build careful habits, but it does not replace the manufacturer’s manual, routine maintenance, or laboratory analysis when a decision requires verified results. A portable reading is useful evidence, not the whole story.
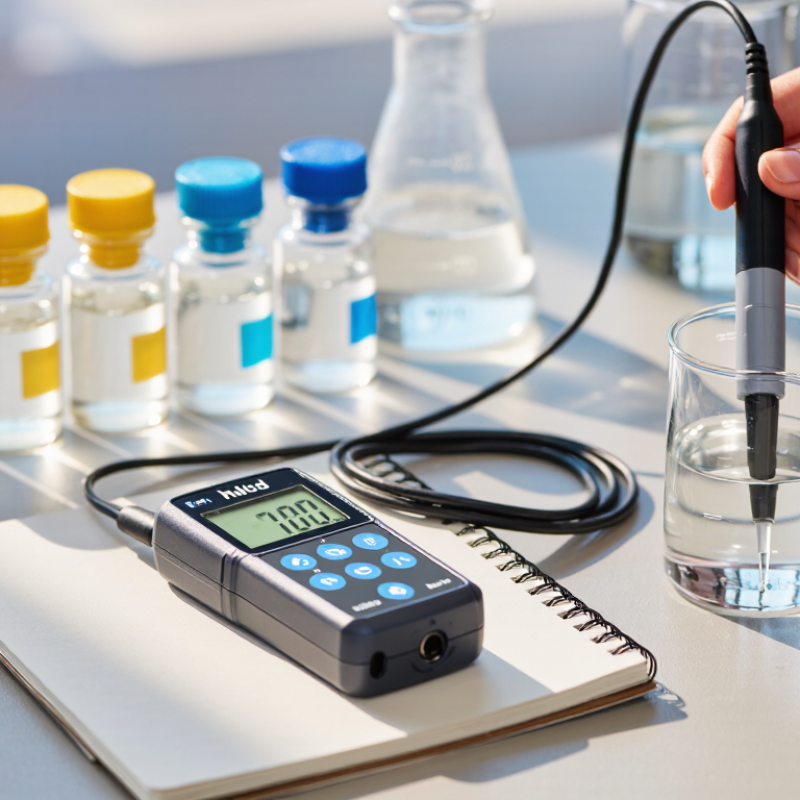
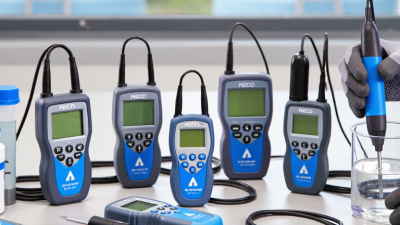
A portable HQd-style meter has three parts: the display unit, a connected probe, and the selected measurement method. Check the probe label and cable before sampling; probes are not interchangeable. A pH electrode reads acidity, while conductivity probes track dissolved ions. Other compatible probes can measure dissolved oxygen, oxidation-reduction potential, or specific ions. Match the probe to the question.
Small details matter. Rinse the sensor with clean water between samples, then gently blot it; rubbing can damage delicate membranes. Calibrate with fresh standards near the expected range, and record temperature because it affects many readings.
The WHO/UNICEF Joint Monitoring Programme reported that 2.2 billion people lacked safely managed drinking water in 2022. That scale makes dependable monitoring important, but one meter reading cannot establish that water is safe.
Choose parameters based on the source and suspected issue. For example, conductivity can flag a change in mineral content, but it cannot identify which ions caused it. A nitrate ion-selective probe may help screen a sample; the U.S. EPA’s drinking-water standard sets nitrate at 10 mg/L as nitrogen. A field result is not automatically a compliance result. Keep that distinction visible. Some readings drift, and I would rather repeat a questionable measurement than trust a neat number on the screen.
Before calibration, inspect the probe for cracks, salt deposits, or a dry sensing bulb. Follow its instructions for storage and conditioning; some probes need soaking before use. Rinse the sensing end with deionized water, then gently blot it with a lint-free tissue. Do not wipe the glass bulb. Small details matter. Pour fresh buffer into clean cups, and never return used buffer to its bottle. This step is easy to rush.
For pH testing, choose two buffers that bracket the expected sample: pH 7 and 4 for acidic water, or pH 7 and 10 for alkaline water. Let the probe and buffers reach a similar temperature, then calibrate in the meter’s guided sequence. Wait for each reading to stabilize before confirming it. The USGS National Field Manual for the Collection of Water-Quality Data describes calibration and stabilization as core parts of reliable field pH measurement. Check the displayed calibration status and slope against the instrument’s stated limits; repeat if either fails. The World Health Organization’s Guidelines for Drinking-water Quality note that pH is generally operationally managed around 6.5–8.5, rather than assigned a health-based guideline value. That range can help frame routine checks, but local source water may differ. Record buffer values, temperature, time, and any error message. A hurried rinse can carry buffer into the sample, so rinse again between measurements.
Common pH calibration buffer values at 25°C
Rinse the probe with clean water and gently blot it dry before calibration. Use fresh buffer portions, calibrate with buffers that bracket the expected sample pH, and follow the meter’s calibration prompts. Buffer values vary with temperature; use the value specified for the buffer’s actual temperature.
Choose a sampling point that represents the water being assessed, not an unusual pocket near a bank, pipe, or stagnant surface. Avoid disturbing sediment unless the test specifically calls for it. Let the water flow steadily before collecting from a tap, and remove any attachments that could affect the sample.
Use a clean container suited to the test. Rinse it with the sample only when the method allows; never rinse away a preservative or compromise a sterile container. Fill gently to limit splashing and air bubbles. Some measurements, such as pH, can shift during storage, so test promptly when practical. Keep the sample shaded and at a stable temperature if there will be a delay. Label the container with the location, time, and any relevant field conditions.
Small details matter. Before testing, mix the sample gently if settling is possible, but avoid vigorous shaking that adds air. Rinse the meter’s probe with a small portion of the sample, then measure according to the instrument and test method instructions. Blot droplets carefully rather than rubbing the sensing surface. Field samples are rarely perfect; muddy water, changing flow, or a long delay can affect results. Note those limits instead of treating a reading as more certain than it is.
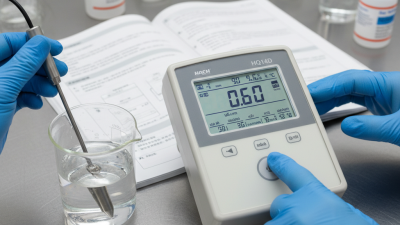
Place the meter on a dry, stable surface and collect a fresh sample in a clean container. Rinse the probe as directed for its sensor, then lower it into the water without letting it touch the container walls. Keep it steady. Wait for the reading to settle; temperature and a moving probe can make values fluctuate. If the display keeps drifting, check the sensor, sample, and measurement procedure before recording anything.
Write down the result with its unit, such as pH units or milligrams per liter, and include the sample location, date, time, and sample ID. Note the meter’s calibration status and any unusual conditions, like cloudy water or a warm sample. Take a second reading when results seem unstable or unexpected. A repeat may not match perfectly, and that difference is worth recording rather than hiding. In the field, it is easy to mistake a neat number for a reliable one. Review the entries before leaving, while the sampling details are still clear.
After each reading, rinse the probe using the cleaning method specified for its sensor type. Between samples, a small rinse with the next sample can reduce carryover. Blot gently with a lint-free cloth; rubbing can damage delicate sensing surfaces. Small details matter. Check for salt crystals, cloudy residue, or a cracked cable before packing the meter. If residue remains, use only the recommended cleaning solution and soaking time. A quick wipe is not always enough.
Storage needs vary by probe. Some sensors must stay moist in a designated storage solution, while others require different conditions. Check the probe instructions rather than assuming water is suitable. Keep the meter body dry, close port covers, and place the instrument in a clean case away from heat and direct sunlight. The WHO/UNICEF Joint Monitoring Programme reported that 2.2 billion people lacked safely managed drinking water in 2022. Reliable field measurements support local water monitoring, so careless storage can matter. It is easy to rush this step after a long sampling day. Build in one final check: confirm the probe is clean, stored correctly, and ready for the next test.
| Stage | What to Do | Practical Guidance | Record or Check |
|---|---|---|---|
| 1. Inspect | Check the meter, probe, cable, and connector for damage, residue, or moisture. | Keep connectors clean and dry. Do not use equipment with a cracked probe or damaged cable. | Note any visible damage or unusual residue. |
| 2. Prepare | Turn on the meter and connect the appropriate probe. Allow the instrument to initialize. | Use a probe suitable for the parameter being measured, such as pH, conductivity, or dissolved oxygen. | Confirm the displayed measurement mode and units. |
| 3. Calibrate | Calibrate according to the probe and meter instructions using fresh, appropriate standards. | Use standards that bracket the expected sample range. Avoid returning used standard to its original container. | Record calibration date, standards, and any calibration warnings. |
| 4. Rinse | Rinse the probe with clean deionized or distilled water before testing and between samples. | Gently blot droplets with a clean, lint-free tissue when needed; avoid rubbing sensitive sensing surfaces. | Check that no residue from the previous sample remains. |
| 5. Measure | Immerse the sensing area in the sample to the depth specified for the probe. Gently stir if the method allows. | Avoid touching the container bottom or trapping air bubbles around the sensor. Wait for the reading to stabilize. | Record the result, units, sample ID, date, and temperature if available. |
| 6. Clean | Rinse the probe after use. If residue remains, clean it with a solution and method approved for that probe type. | Do not use abrasive materials or unapproved solvents; they can damage sensing surfaces and seals. | Confirm the sensing area is clean before storage. |
| 7. Store the probe | Use the storage method specified for the probe’s sensor type. | Many pH electrodes must be kept moist in a suitable electrode storage solution, not stored dry or in deionized water. Other probe types may require different conditions. | Ensure the cap is secure and contains the recommended storage medium, if applicable. |
| 8. Store the meter | Dry the meter exterior and place the instrument and probe in a clean, dry case. | Store within the temperature and humidity limits specified for the equipment. Keep away from direct sunlight, excessive heat, and corrosive vapors. | Check that the case is closed and the meter is powered off. |
Reminder: Probe cleaning and storage requirements vary by sensor type. Follow the instructions supplied for the specific probe, and handle calibration solutions and samples according to their safety guidance.