How to Use a Hach Chlorine Colorimeter?

Safe drinking water depends on accurate disinfection, not guesswork at the testing bench. A hach chlorine colorimeter helps operators measure chlorine quickly, using a visible color reaction and a digital reading. This small instrument can support decisions in municipal plants, hotels, laboratories, and food-processing facilities.

The World Health Organization’s Guidelines for Drinking-water Quality identify free chlorine monitoring as an important operational control. The U.S. Environmental Protection Agency also emphasizes reliable residual-disinfectant measurement throughout distribution systems. Water-disinfection researcher Charles N. Haas is widely associated with this practical principle: “Disinfection performance depends on concentration, contact time, and water quality.” The wording is simple, but field conditions are not.

A technician may collect a sample from a warm tap, add a DPD reagent, and watch the tablet dissolve. The result can change when the vial contains fingerprints, bubbles, or an incorrect sample volume. That is why this guide examines calibration, reagent handling, sampling points, and result interpretation. It also considers limitations that are easy to overlook, including turbidity, expired reagents, and delayed testing.

The instrument is useful, not magical. A colorimeter cannot repair poor sampling practice. It cannot explain every unusual reading without context. EPA monitoring guidance and WHO recommendations support routine verification, yet local procedures still require professional judgment. Readers should compare measurements with approved methods and site requirements. Small mistakes remain possible, especially during busy shifts. Careful technique makes the hach chlorine colorimeter far more dependable.
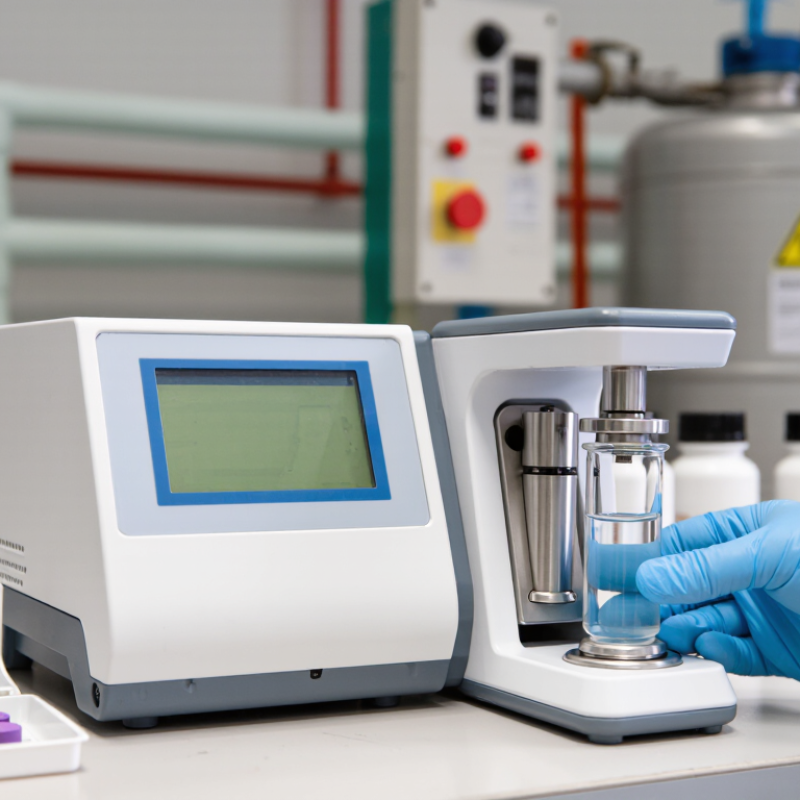
How to Use a Hach Chlorine Colorimeter?

Identify the Hach Chlorine Colorimeter, DPD Method, and 0.02–2.00 mg/L Range

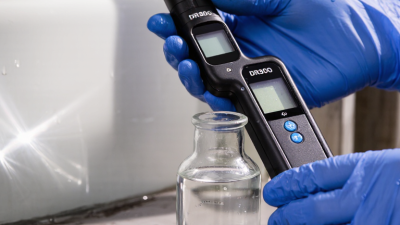
A chlorine colorimeter is a compact instrument for measuring chlorine in treated water. It uses the DPD method, where a reagent reacts with chlorine and creates a pink color. The device measures that color and displays the concentration digitally.

Most models cover approximately 0.02–2.00 mg/L, making them useful for drinking water checks, pools, and routine process monitoring. Collect the sample in a clean vial without trapping air bubbles. Rinse the vial with the sample, fill it to the marked line, and wipe the outside carefully. Fingerprints can affect the optical reading.

Add the correct DPD reagent, close the vial, and mix gently. Wait for the specified reaction time. Then place the vial in the chamber and run the measurement. Use the proper reagent for free or total chlorine, because these tests are not interchangeable. Always confirm the displayed unit before recording results.

Small details matter. I have seen rushed mixing produce unstable readings. Check the instrument with a suitable reference standard and follow its calibration schedule. Cloudy samples, strong color, high oxidant levels, and unsuitable pH may interfere with the result. Record the sample location, time, reagent lot, and reading. If a value approaches 2.00 mg/L, dilute only when the method permits it, then apply the dilution factor. Recheck unusual results instead of trusting one measurement. That extra test can reveal a sampling mistake.
Prepare a 10 mL Water Sample, Clean Vials, and Required DPD Reagents

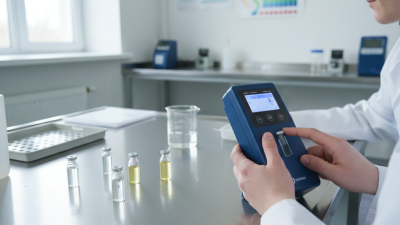
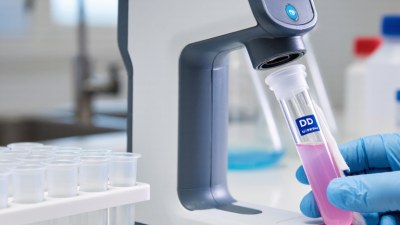
Accurate chlorine testing begins with a careful 10 mL water sample. Use a clean, dry vial and rinse it with the sample before filling it to the marked line. Avoid touching the optical area with your fingers. Water droplets, fingerprints, or tiny bubbles can distort the reading. I usually inspect the vial against a light source before testing. It is a small habit, but it prevents confusing results.

Add the required DPD reagent for the chlorine test you need. Different reagents measure free chlorine or total chlorine, so check the method sheet before adding anything. Close the vial, mix gently, and allow the stated reaction time. Do not shake aggressively, because foam may remain inside. Place the blank vial into the colorimeter first, then insert the reacted sample as directed. Keep the vial aligned consistently. I once rushed this step and received a reading that did not match the field conditions.

Tips: Keep reagents dry and within their use date. Test samples promptly after collection. If the color looks unusually strong or weak, repeat the test with a fresh vial. Record the sample location, time, reagent type, and result. Clean vials with laboratory-grade detergent when needed, then rinse thoroughly with clean water. Avoid abrasive pads, which can create fine scratches. Even careful testing has limits; temperature, turbidity, and sampling technique can influence the final value.

How to Use a Chlorine Colorimeter

Prepare a 10 mL water sample, use a clean vial, add the required DPD reagent, and compare the measured result with common free-chlorine reference levels.

Rinse the vial with the water sample, fill it to the 10 mL mark, and wipe the outside so fingerprints or droplets do not affect the optical reading. Add the appropriate DPD reagent, mix thoroughly, allow the color to develop according to the reagent instructions, and place the vial in the colorimeter. The chart shows commonly referenced free-chlorine levels in drinking-water treatment: approximately 0.2 mg/L at the point of delivery, approximately 0.5 mg/L after a 30-minute contact period under suitable conditions, and 4.0 mg/L as a commonly cited upper secondary drinking-water guideline.

Zero the Meter with a Blank Before Adding DPD Chlorine Reagent

Before measuring chlorine, prepare the colorimeter and a clean sample vial. Rinse the vial twice with the water being tested, then fill it to the marked line. Avoid touching the optical sides. Fingerprints can alter the reading.

The blank must be measured before adding DPD reagent. A blank contains the untreated sample only. Cap it firmly, check for bubbles, and wipe the outside with a lint-free cloth. Place the vial in the chamber with its mark facing the same direction each time. Close the lid, select the zero function, and wait until the display confirms the baseline. This step removes the sample’s natural color and mild cloudiness from the result. Do not skip it, even when the water looks clear.

Remove the blank and add the correct DPD chlorine reagent to a fresh portion of the sample. Cap the vial immediately and mix with gentle inversions. Vigorous shaking may create bubbles. Start the reaction timer and follow the reagent’s specified waiting period. Read the result within the recommended time window. If the color looks uneven, repeat the test rather than guessing. I have found that rushed mixing creates more doubt than useful data. A clean blank, consistent handling, and a recorded sample time make the result easier to trust. Recheck unusual readings with a second vial and inspect the instrument for residue or moisture.

How to Use a Hach Chlorine Colorimeter? - Zero the Meter with a Blank Before Adding DPD Chlorine Reagent

Step 操作 / Measurement Action Typical Condition or Data Expected Display or Color Purpose Practical Notes
1 Collect a representative water sample in a clean container. Sample volume: typically 10 mL, according to the instrument procedure. Clear sample before reagent addition. Provides a consistent sample for the colorimetric test. Avoid bubbles, suspended solids, and fingerprints on the cuvette.
2 Rinse the sample cell with the water sample, then fill it to the marked line. Use the same fill level for the blank and reacted sample. Liquid level should be uniform and free of foam. Reduces dilution and handling errors. Wipe the outside with a lint-free cloth before inserting the cell.
3 Place the untreated sample cell into the colorimeter and close the cover. No DPD reagent has been added. Sample may appear colorless or have its natural color. Establishes the optical reference, known as the blank. Align the cell consistently if an orientation mark is provided.
4 Zero the meter with the blank before adding DPD reagent. Blank reading: 0.00 mg/L as Cl2 or the instrument's zero indication. Display should indicate zero or blank reference. Corrects for sample color, turbidity, and cuvette background. Do not skip this step when the procedure requires a blank.
5 Remove the cell and add the specified DPD chlorine reagent. Use the reagent amount and form stated in the method; do not substitute unapproved reagents. The solution begins developing a pink or magenta color when chlorine is present. DPD reacts with residual chlorine to produce a measurable color. Add reagent promptly and avoid contamination of the reagent container.
6 Mix gently until the reagent is fully dissolved. Typical mixing time: approximately 20 seconds, unless the method specifies otherwise. Color should be uniform throughout the sample. Ensures complete reaction between DPD and chlorine. Do not shake vigorously because bubbles can affect the optical reading.
7 Allow the required reaction time, then insert the reacted cell and start the measurement. Free-chlorine DPD methods commonly use a reaction time near 1 minute; follow the specific method timing. Color intensity increases with chlorine concentration within the method range. Keeps the result comparable with the method calibration. Measure within the stated reading window because color can change over time.
8 Record the result and unit shown by the instrument. Common reporting unit: mg/L as Cl2, numerically equivalent to ppm in dilute water. Example result: 0.84 mg/L as Cl2. Documents the residual chlorine concentration. The example value is illustrative; report the actual measured result.
9 Repeat the test if the reading is outside the stated range or appears inconsistent. Example duplicate results: 0.82 and 0.86 mg/L; average: 0.84 mg/L. Duplicate readings should be reasonably close. Checks repeatability and identifies handling errors. Dilute only when the method specifically permits it, and apply the dilution factor.
10 Dispose of the tested solution and rinse the sample cell with clean water. Complete immediately after recording the result. Cell should be clean, clear, and dry on the outside. Prevents reagent carryover and cross-contamination. Store the cell protected from dust and strong light when not in use.
Data values shown as typical method examples; always follow the operating procedure, reagent instructions, and measurement range for the specific colorimeter.

Mix the Sample, Wait 3 Minutes, and Measure Free Chlorine at 530 nm

A chlorine colorimeter gives dependable free-chlorine results when sample handling stays consistent. Collect water from a representative point, not from surface foam or stagnant liquid. Rinse the clean cuvette with the sample, then fill it to the marked line. Wipe the outside with a lint-free cloth. Fingerprints can scatter light and affect the reading.

Add the approved reagent, cap the cuvette, and mix the sample gently. Invert it several times until the powder or tablet dissolves completely. Do not shake violently, because bubbles may remain in the optical path. Start the timer immediately after mixing. The three-minute wait matters. It allows the color reaction to develop before measurement. Keep the cuvette away from direct sunlight during this period.

After three minutes, place the cuvette into the chamber with the alignment mark facing correctly. Select the free-chlorine program and measure at 530 nm. Record the result with the sampling time and location. My first mistake was measuring too early, which produced a lower result than expected. I also learned that cloudy samples require investigation rather than a quick repeat. Check the blank, verify the calibration status, and compare occasional results with a suitable quality-control standard. Temperature, old reagents, and incomplete mixing can still distort an otherwise careful test.

Record Results in mg/L as Cl₂ and Compare Them with Applicable Standards

A chlorine colorimeter helps convert a water sample’s color response into a measurable result. Before testing, check the instrument’s operating instructions, reagent expiry date, and calibration status. Rinse the cuvette with the sample, then fill it carefully without fingerprints, bubbles, or droplets on the optical path. Small handling errors can affect the reading.

Use the required blank and reagent procedure for the selected chlorine range. Keep the reaction time consistent, because color may continue developing after the prescribed interval. Place the cuvette in the same orientation each time. Record the result as mg/L as Cl₂, not simply “chlorine.” Also note the sample location, collection time, test method, temperature when relevant, operator, and any unusual appearance or odor.

Compare the recorded value with the applicable standard for the water’s intended use. Drinking water, process water, pools, and wastewater may have different limits. Confirm whether the requirement concerns free chlorine, total chlorine, a minimum residual, or a maximum concentration. Never compare unlike measurements. A result of 0.8 mg/L as Cl₂ can mean different things under different programs.

Repeat questionable readings.

I once treated a single stable-looking result as sufficient, but a second test exposed a sampling mistake. Duplicate measurements are useful when results approach a limit. If the value seems unexpected, verify the blank, reagent condition, sample identity, and instrument status before making a compliance decision. Store records securely so another qualified person can review the calculation and comparison.